Deploying an Algorithm
Before using an algorithm, deploy its image to a runtime environment and specify the required compute resources.
Open the Deployment Creation Form
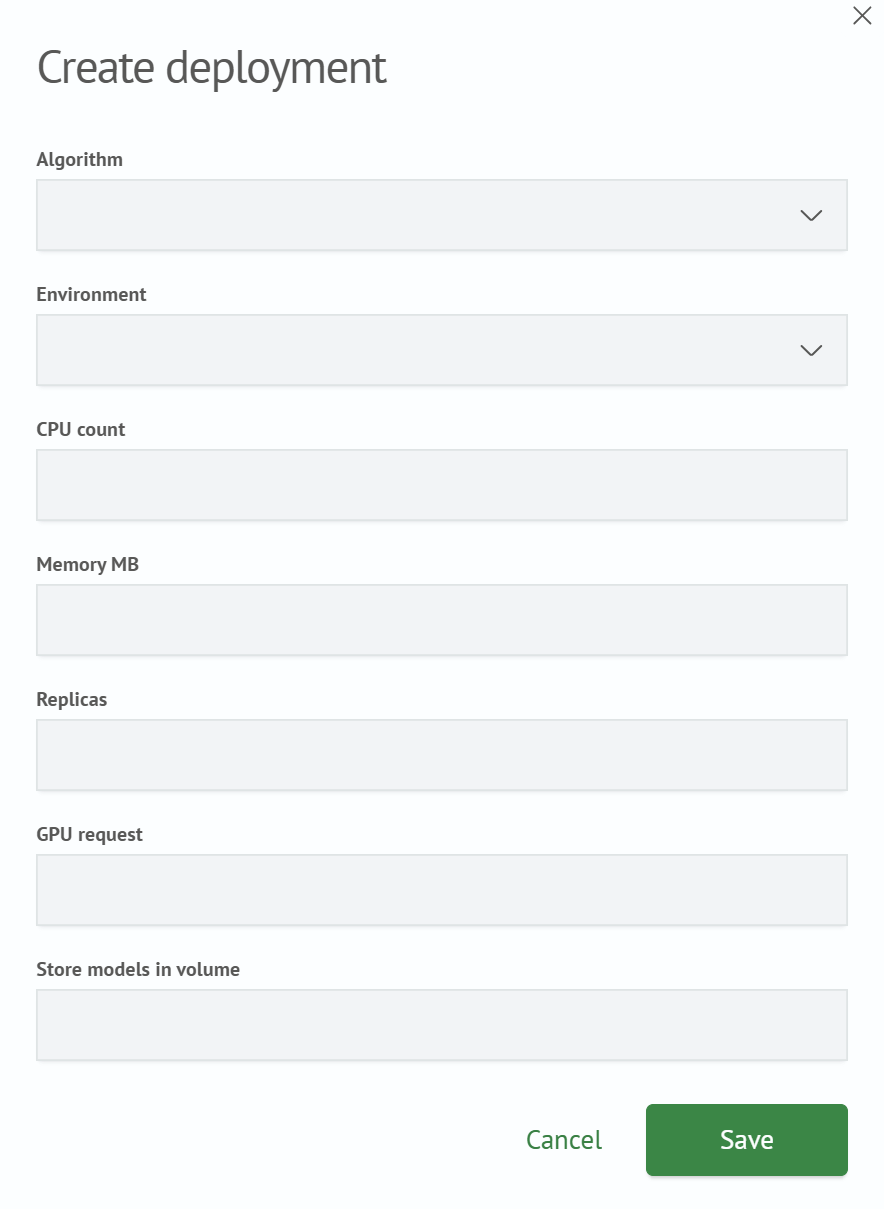
Go to Main Menu - ML Studio - Deployed Images, and click Create. The Create Deployment form opens.
Enter the Parameters
| Field | Example Value | Description |
|---|---|---|
Algorithm | tutorial-demo | Algorithm to deploy |
Environment | local | Runtime environment created in Configuring a Runtime Environment |
CPU Count | 1 | Number of allocated CPU cores |
Memory, MB | 2048 | Memory limit |
GPU Request | - | GPU resources, if required |
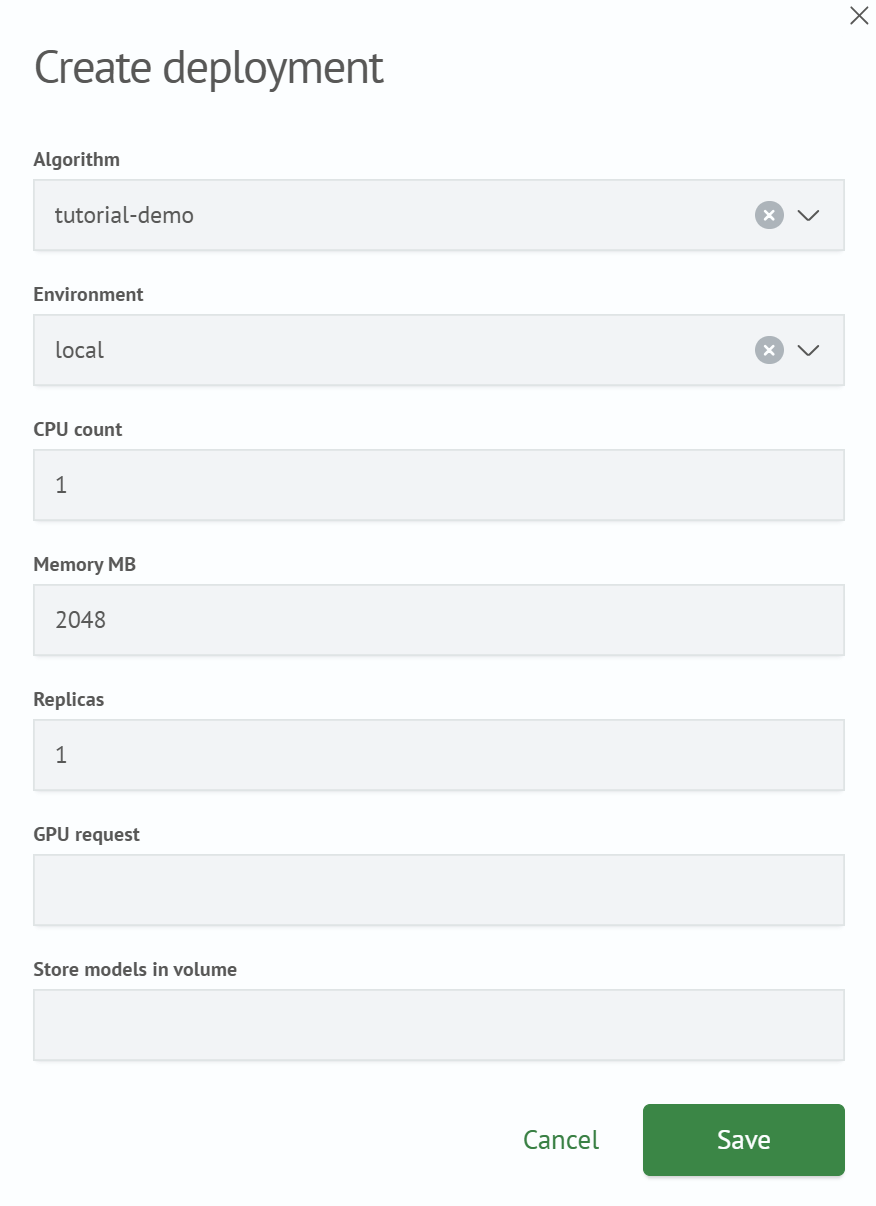
Save the Deployment
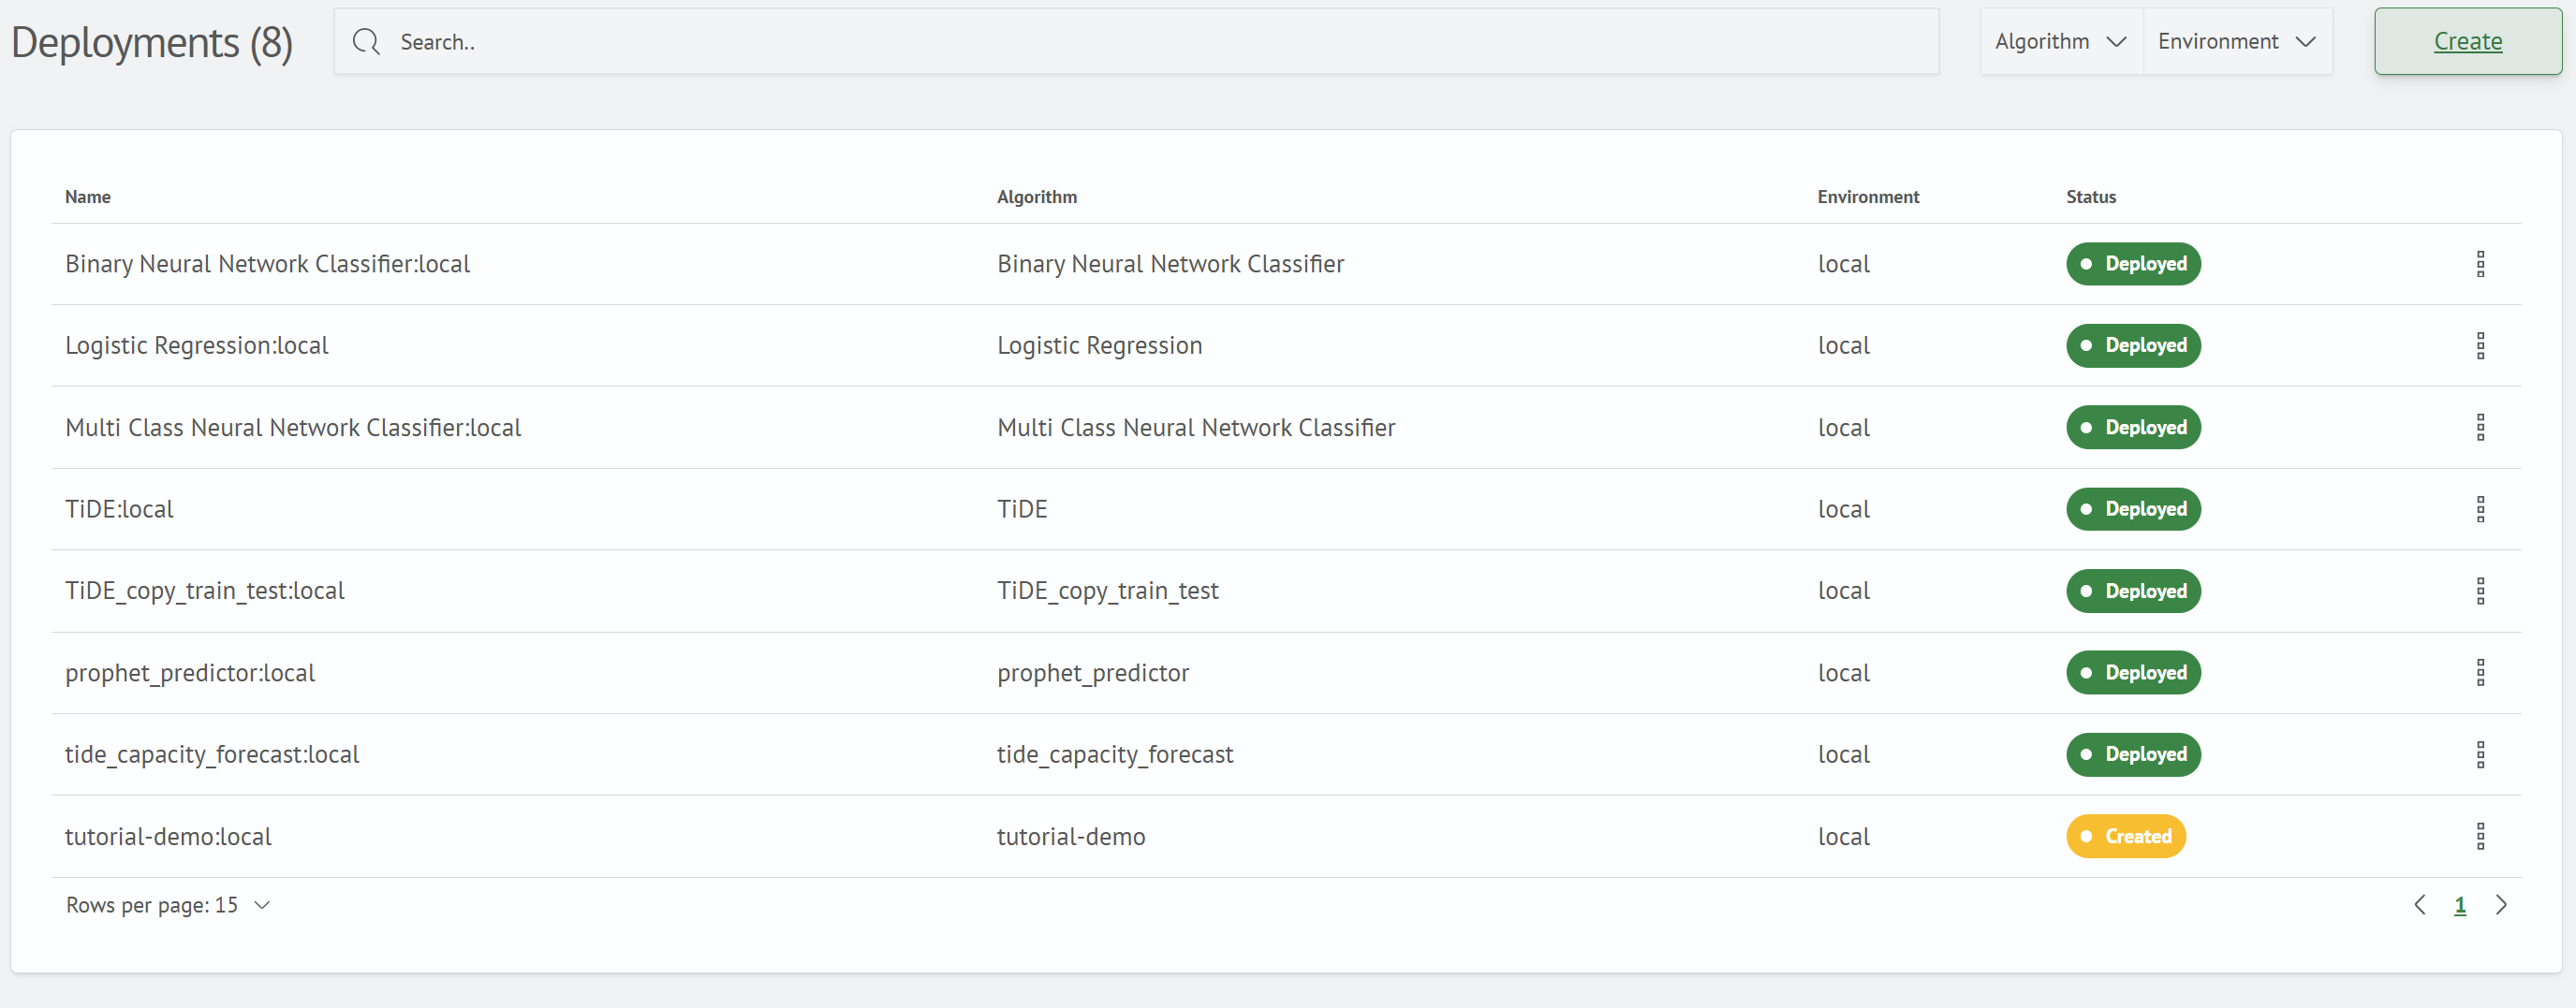
Click Save. The deployment appears in the list with the Created status shown in yellow.
Deployment Status Changes
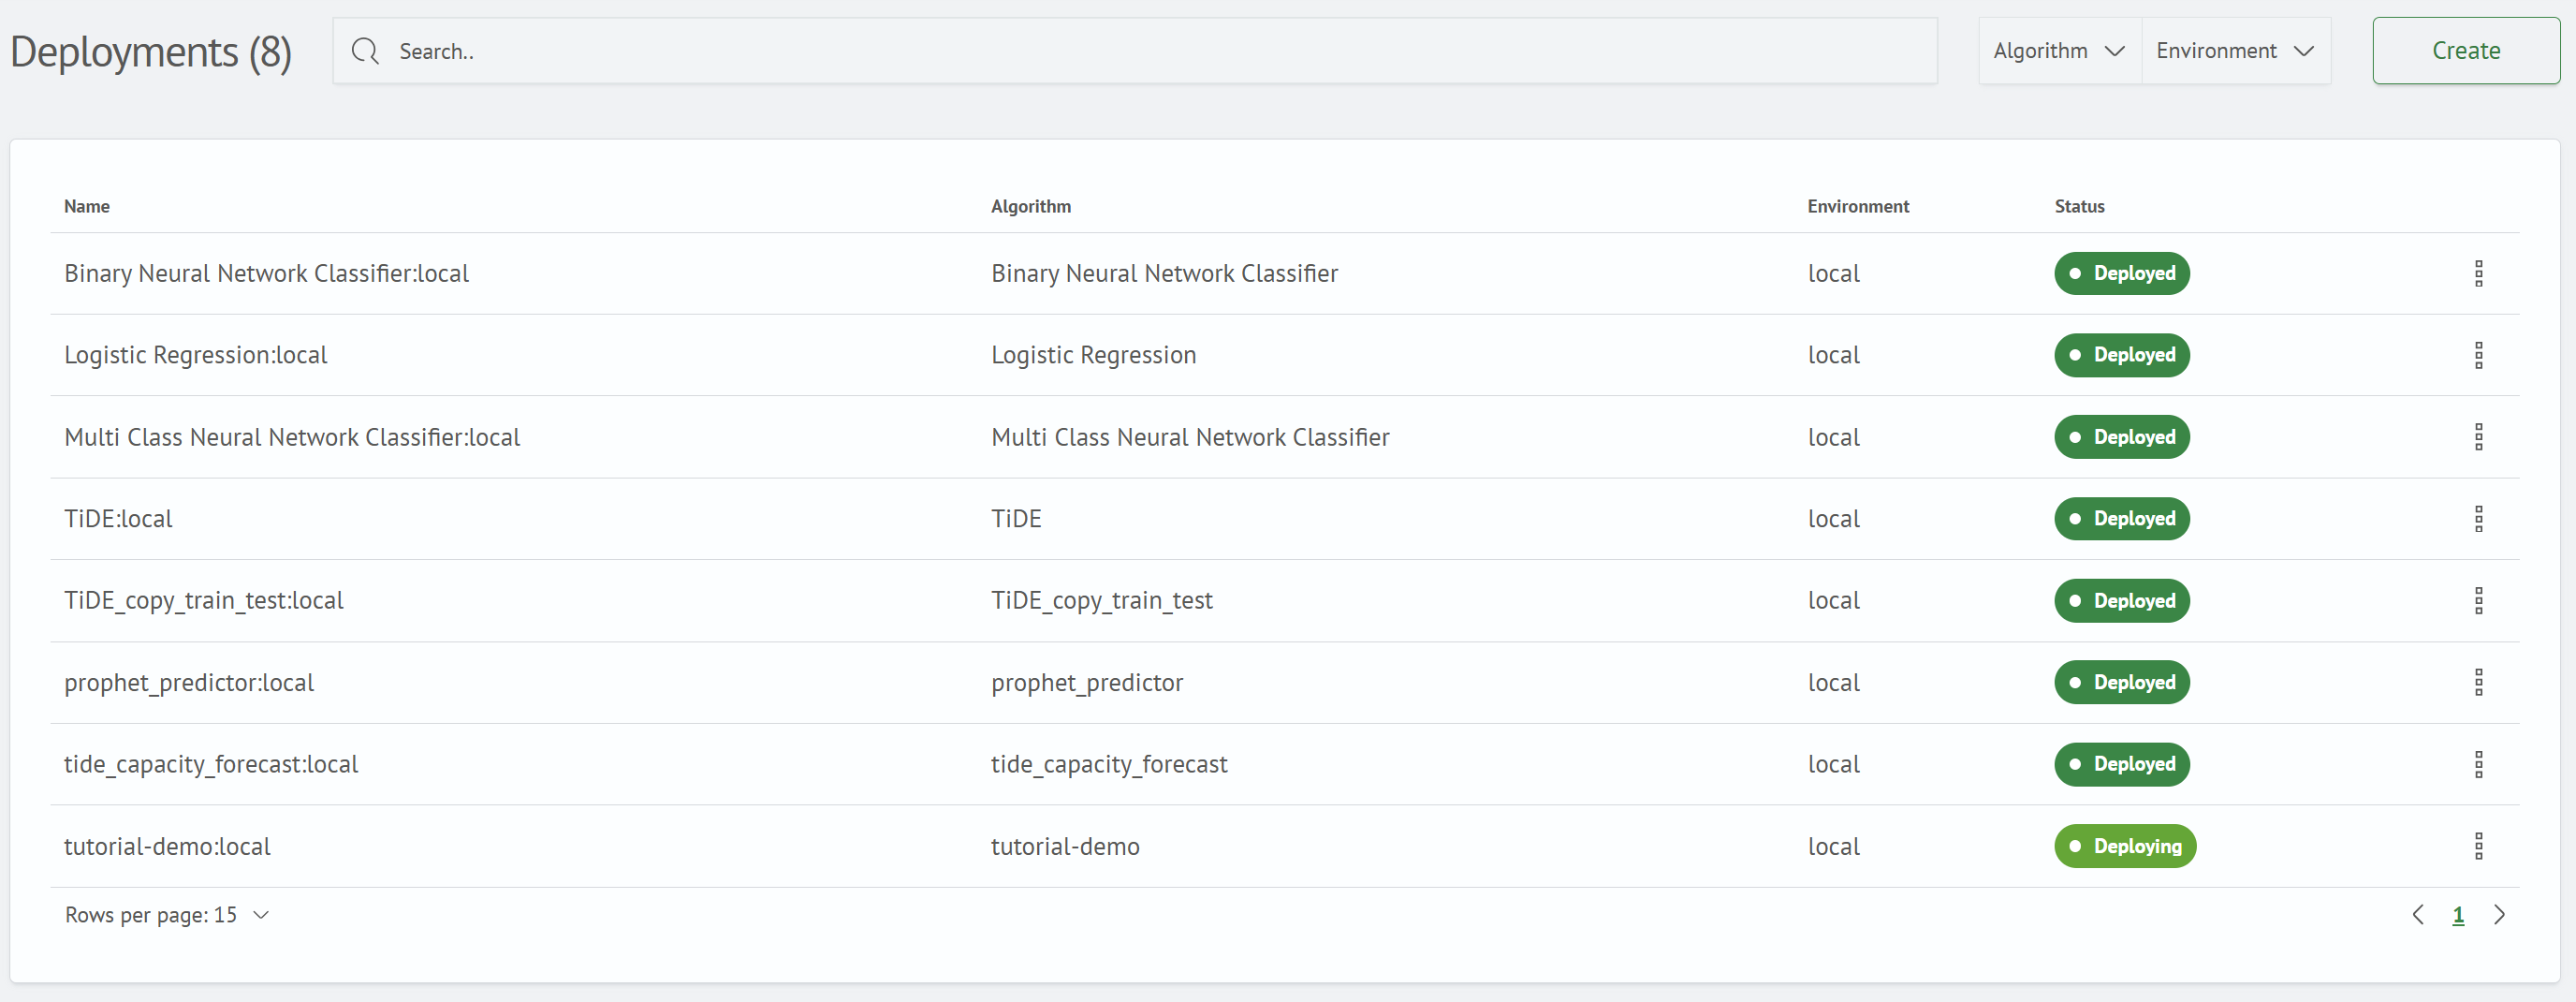
The deployment then progresses through the following states:
Created-Deploying-Deployed(green): the image is running and ready for useError(red): the image could not be started, for example, because the image tag is unavailable
To retrieve the current status, select Update Status from the row menu. After the deployment reaches the Deployed status, you can use it in Jupyter and through the API. For details, see Training and Applying a Model.
Next step: Synchronizing an Algorithm.