SLA Policies
Overview
SLA policies define rules for calculating incident processing deadlines. A policy specifies the status that starts the timer, the statuses that stop it, the incidents to which the rule applies, and the actions performed when time thresholds are reached.
Use this section to configure incident response requirements within a workflow. For example, you can create a rule that requires a critical incident to be acknowledged within 10 minutes and runs an escalation script if the deadline is missed.
To configure SLA policies, go to Main Menu - System Parameters - Module Settings - Incident Manager - SLA Policies.
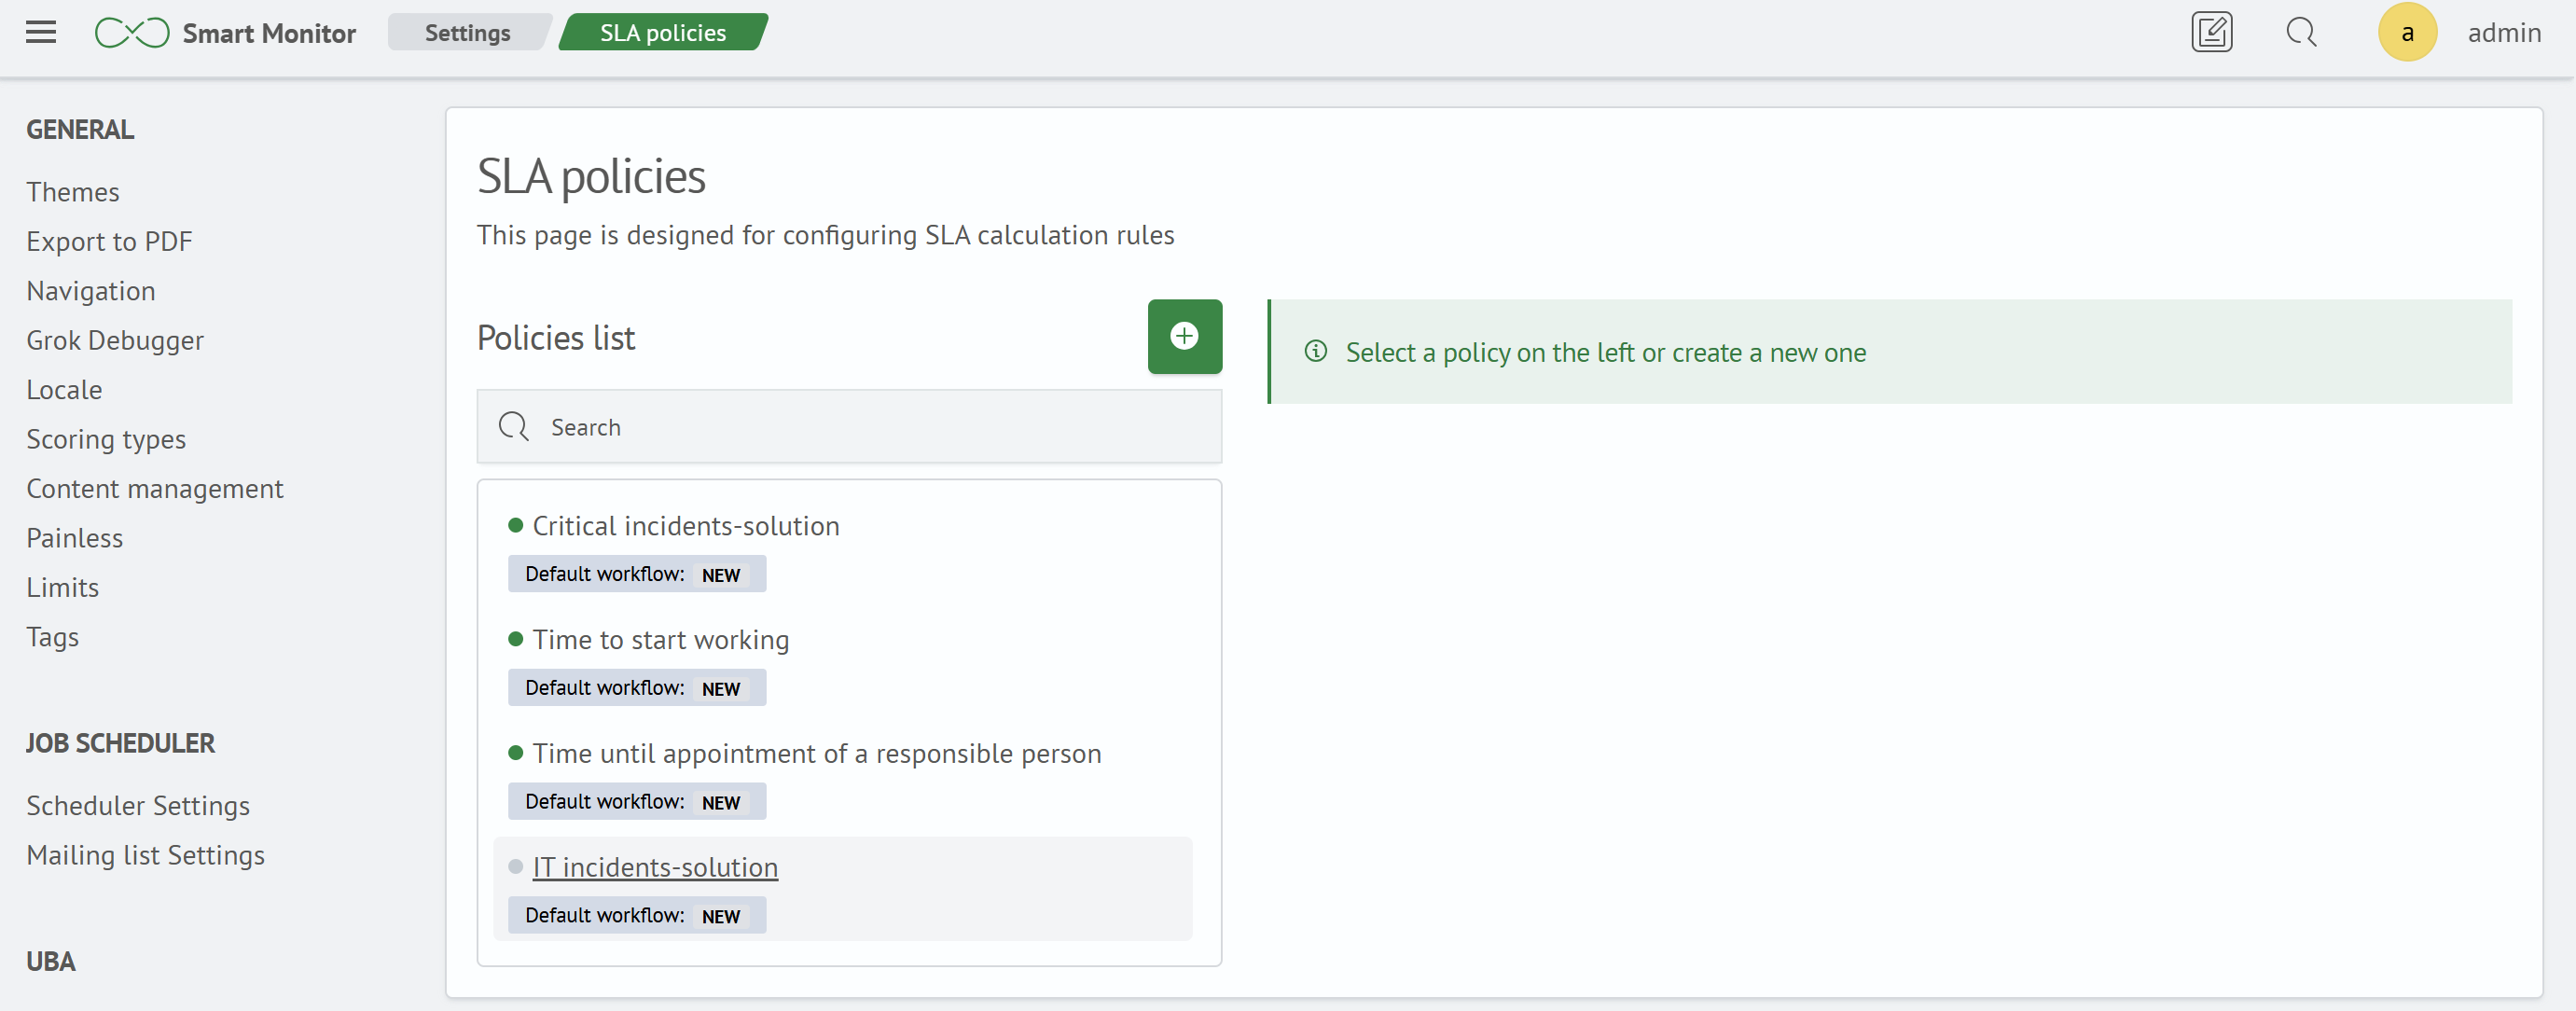
Policy List
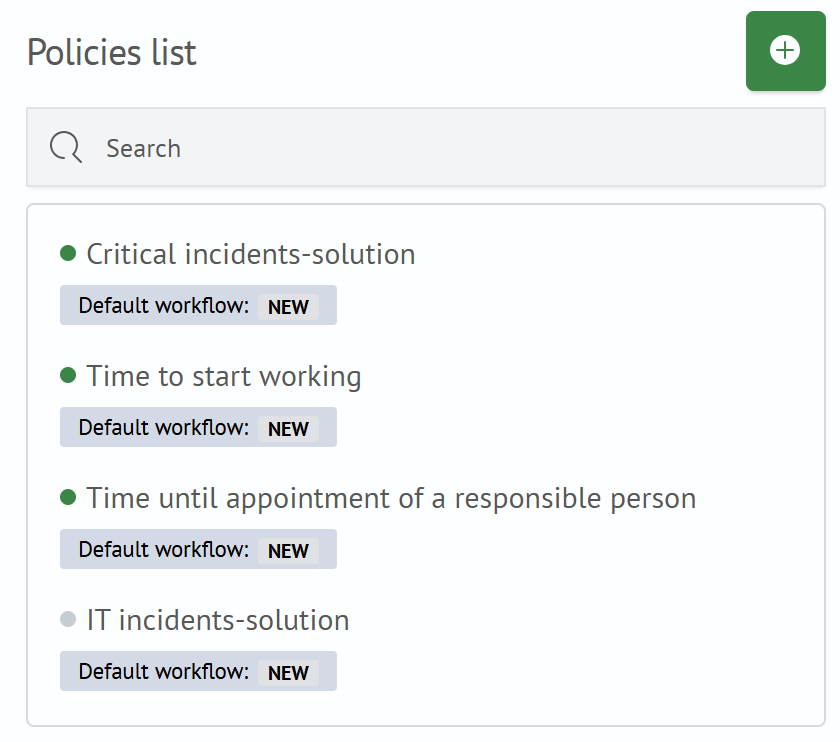
The list displays all SLA policies. The following information is shown for each policy:
- a colored status indicator: green for an enabled policy and gray for a disabled policy
- policy name
- workflow and the status that starts the SLA period
- policy deletion button, displayed when you hover over the list item
To create a policy, click the + icon in the list header.
Creating and Editing a Policy
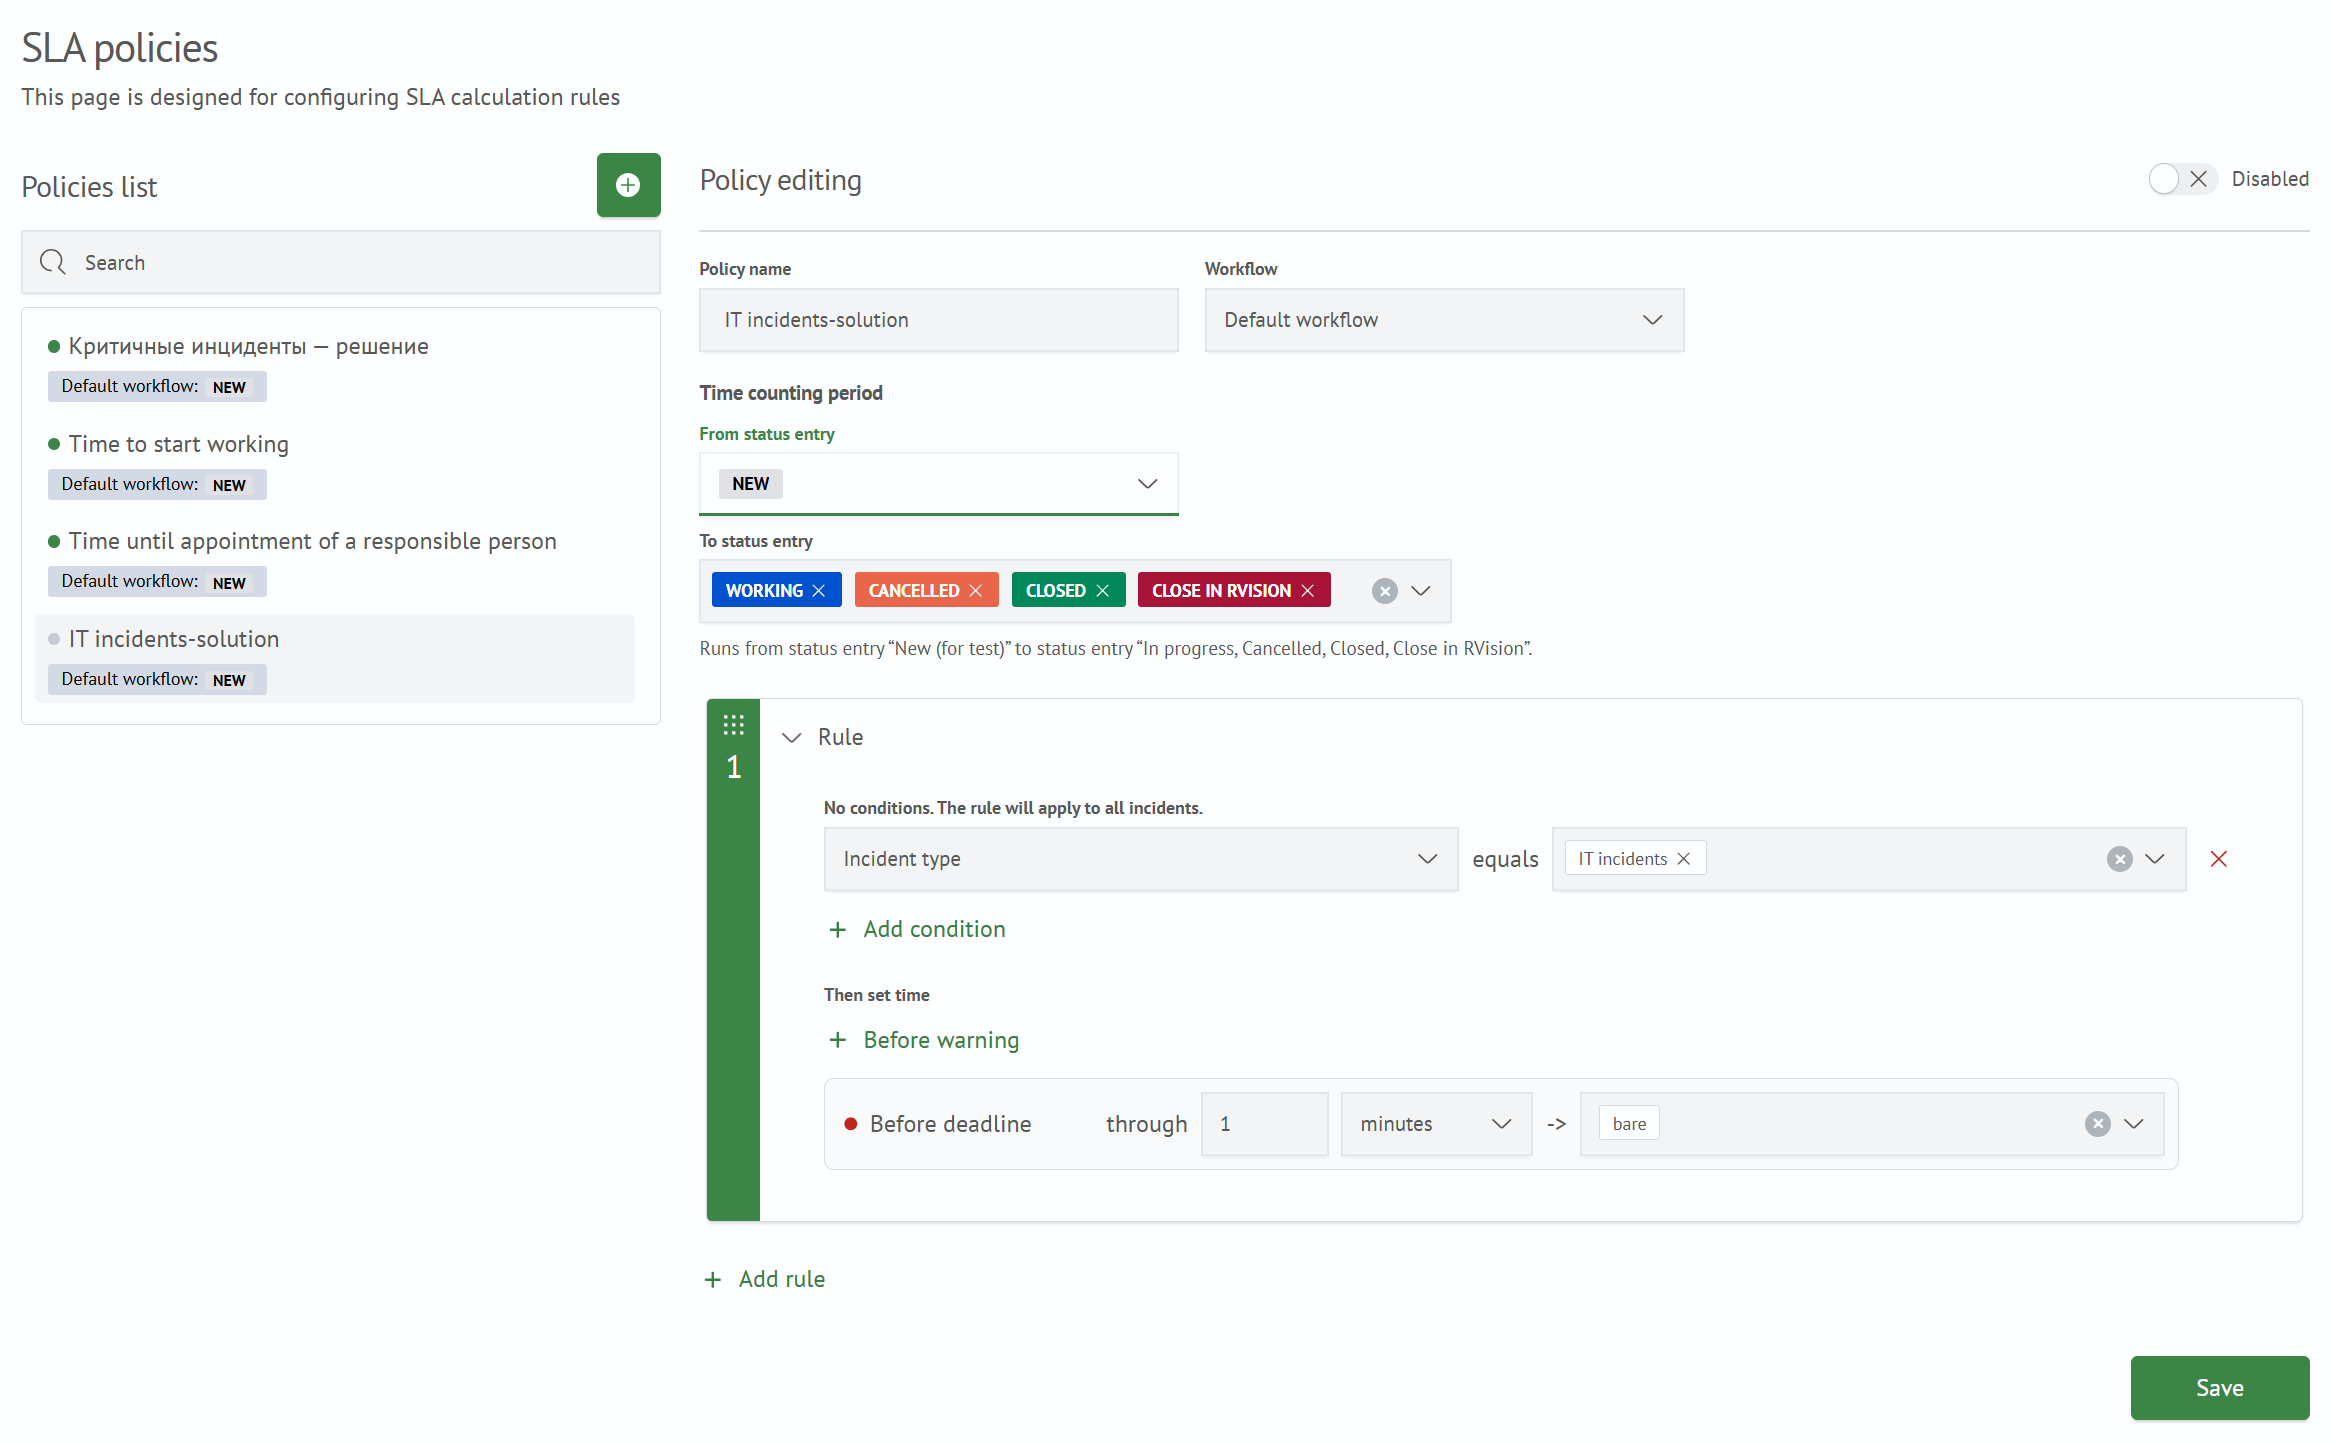
When you select an existing policy or create a policy, its detailed settings open on the right side of the form.
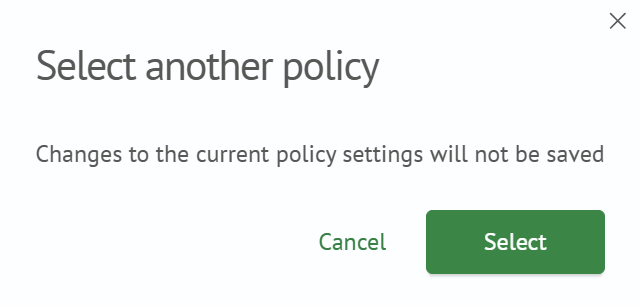
If you open another policy while there are unsaved changes, a confirmation dialog appears. If you confirm the action, the current unsaved changes are discarded and the selected policy opens in the editor.
The Enabled / Disabled switch at the top of the policy editing form determines whether the policy participates in SLA calculations.

General Settings
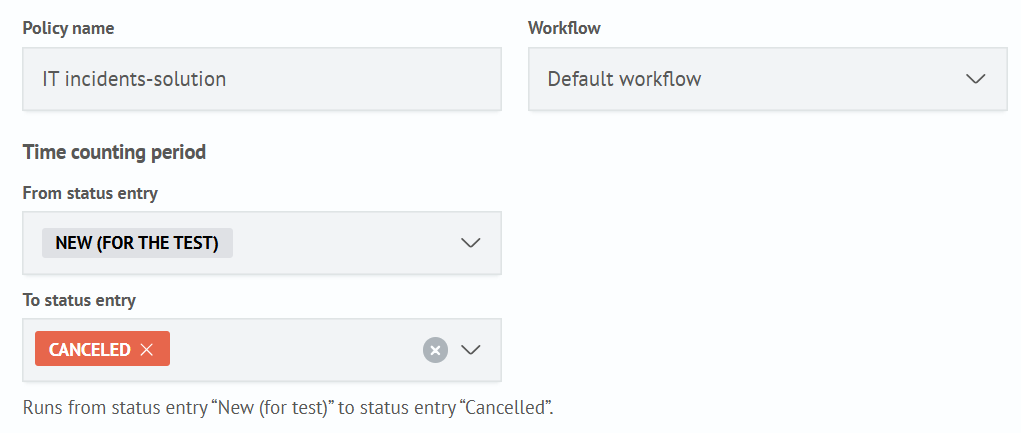
Use the general settings section to configure the policy's basic parameters.
| Field | Description |
|---|---|
Policy Name | Displayed in the policy list and incident card |
Workflow | Workflow whose statuses are associated with the policy |
From Status | Workflow status that starts the SLA timer |
To Status | One or more statuses that mark the SLA as successfully met when the incident enters them |
The To Status field displays all statuses in the selected workflow except the status selected in From Status. If you change the workflow or starting status, destination statuses that are no longer valid for the selected period are cleared.
Trigger Rules
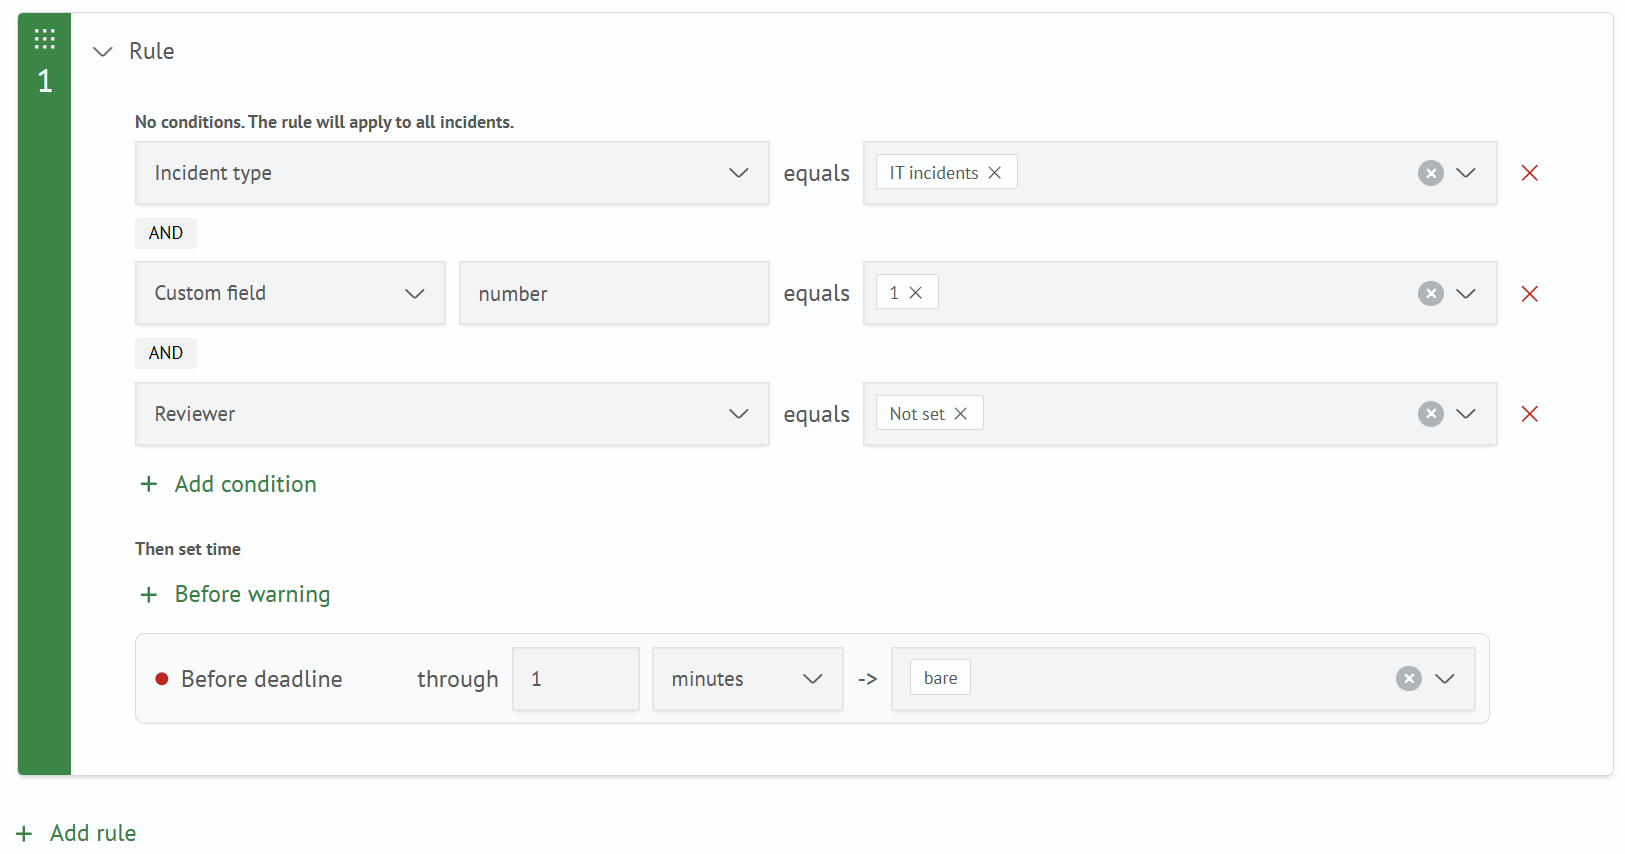
The rule settings section can contain one or more rules. Rules are evaluated in order. The first rule whose conditions match the incident is applied. If the incident does not match any rule, this policy does not assign an SLA to it.
Rules can be expanded, collapsed, and reordered by dragging them.
Click Add Rule to create a rule.
Each rule consists of two parts:
- application conditions
- time thresholds
Rule Conditions
Each condition is configured as field - equals - set of values. If a rule contains multiple conditions, they are combined with the logical AND operator: the rule is triggered only when all conditions are met.
The following condition fields are available:
| Field | Description |
|---|---|
Severity | Incident severity level |
Incident Type | Incident type configured in the module settings |
Custom Field | Incident field whose name is entered manually |
Search Job | Search job from Job Scheduler |
Assignee | User or group assigned to the incident |
When you select an incident type condition, additional fields from that incident type become available in the field list. If the incident type changes, conditions based on fields that are no longer available are removed automatically.
For Custom Field, you can enter a value manually if it is not in the list. Press Enter to add the value to the field.
Time Thresholds

Configure the following time thresholds for each rule:
| Threshold | Requirement | Purpose |
|---|---|---|
Time to Warning | Optional | Time before the SLA enters the Warning status |
Time to Deadline | Required | Time before the SLA is breached |
For each threshold, specify:
- a numeric duration
- a time unit: minutes, hours, or days
- an action to perform when the threshold is reached
The action field can be left empty.
Actions are selected from Active Action scripts. For details on configuring scripts, see Creating an Active Action Script.
Saving a Policy
Click Save to save the changes. Before saving, the form verifies that the policy's general settings are complete, the SLA period is valid, and the trigger rules are configured.
If validation fails, the policy is not saved. The fields that must be completed or corrected are highlighted in the form.