Creating Incidents
This article describes the functionality for creating incidents: via an active action in the Job Scheduler and manually in the Incident Manager.
Creating via the "Create Incident" Active Action in the "Job Scheduler"
To create an incident using the Create Incident active action in the Job Scheduler, follow these steps:
-
Go to the
Jobs Listsection (Main Menu-Job Scheduler-Jobs List) -
Create a new job by clicking the
Createbutton -
Fill in the main job fields, including
Name,Search Query, andLock Duration. An example of job settings is shown below:

- Add the
Create Incidentactive action to the job and configure it. Information about configuring the main fields of the active action is provided in the section Create Incident. An example of setting up theCreate Incidentactive action is shown in the image below:

- Save the search job by clicking the
Savebutton at the bottom or top of the interface
The incident created as a result of executing the job will be displayed in the Incident Manager.
Additional information about search jobs and active actions can be found in the section Job Scheduler.
Manual Creation
To create an incident manually, follow these steps:
-
Go to the
Incident Manager -
Click the
Create Incidentbutton. A modal window with incident parameters to fill out will appear:
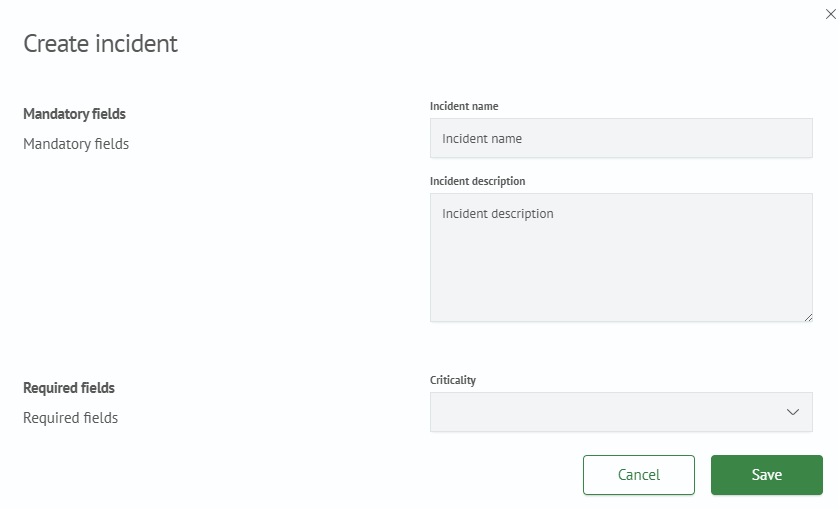
The field set is configured in the Incident Card. By default, each incident includes the following list of fields:
Workflow- the process by which work with the incident will be carried out
Basic fields:
-
Incident Type- incident type, from which the set of fields in the Additional Information section will depend -
Incident Name- the name of the incident displayed in the incidents list -
Incident Description- description that appears in the list when expanding the incident card -
Index Suffix- you can specify a suffix for the index where the incident will be savedRequired fields:
-
Severity- incident importance level -
Comment- explanatory comment to the incident -
Assignee- employee or group of employees responsible for resolving the incident and its consequences
- Click the
Create Incidentbutton. After clicking, the created incident will appear in the general list.