Job Scheduler
General Description
The Job Scheduler component lets you create search jobs. A search job runs a query on a specified schedule, and active actions process its results, for example, by creating an incident or sending an email notification.
To open the jobs list, go to Main Menu - Job Scheduler - Jobs List:

Jobs can be created manually or provided as part of a module.
Jobs provided as part of a module have the System type. They cannot be deleted, but they can be modified. Modifying a system job creates a copy with the Custom type that replaces the default system job.
A colored indicator shows the job state: red means the job is disabled, and green means it is active.
Managing Jobs
Configuring Table Columns
In the Selected Fields list, select the columns to display in the table. To hide a column, clear the checkbox next to its name. The Reset button restores the default set of columns.
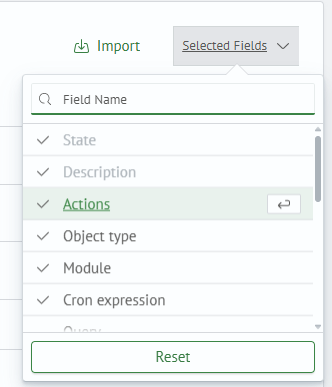
Launches Statistic in the Jobs Table
The Launches statistic column shows the results of the last five job runs as colored squares. The most recent run is on the right. Each color indicates a result:
- green — the run completed successfully
- yellow — the run completed with a warning
- red — the run completed with an error
- gray — no run data is available
Hover over a square to see the status and run time:

Click a square to open the Launches Statistic page, where the selected run is expanded automatically.
If the Launches statistic column is not displayed, enable it in the Selected Fields list:

Managing Job Permissions
Job permissions are configured in a separate dialog.
To configure permissions, click the three-dot button to the right of the job in the table and select Permissions.
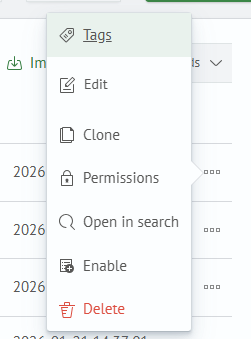
In the dialog, set the permissions and click Save.

You can also configure permissions in the job card:
- Open the job by clicking its name
- Find the permissions control next to the job name
- Click
Permissionsand set or change the permissions
Assigning Tags
You can assign one or more tags to each job to find it in the table.
To configure tags in a job card:
- Open the job by clicking its name
- Find the tags control next to the job name
- Select
Tagsto set or change them
In the dialog, select the tags and click Save.

Tags appear below the job name in the table and in the tag editing dialog.
There are two ways to filter jobs by tag:
- Use the
Tagsfilter at the top of the page - Click a tag in the jobs table: it is added to the search field and filters the list

Cloning
- Find the job in the table and click the three-dot button in its row
- Select
Clone - Change the new job's settings in the card that opens
- Click
Save. The cloned job appears in the table
Creating and Editing a Job
To create a job, click Create on the top bar.
The job configuration interface has two tabs: General and Active Actions.
Jobs created on the SP server are automatically added to the Meta Jobs tab. These jobs run for all child clusters of SP clients. They cannot be created locally.
Settings on the General Tab
On the General tab, enter a description and a search query in the Main section. In the example below, the query detects the deletion of user accounts.

In the Schedule section, set how often the search query runs and configure suppression of recurring events. Setting the search time range equal to the run interval makes it possible to account for events stored during that period.
For recurring events, you can configure suppression based on selected fields. Results with matching values in those fields are not passed to active actions for the specified period.
You can also create manual suppressions in the Suppression section. For details, see Suppression in Job Scheduler.
The Save Results section lets you save the latest search results to disk. In this mode, the job runs in the background and overwrites the saved results on each run.
You can retrieve the results with the loadjob command.
The Global Parameters section lets you pass additional parameters for substitution in active actions.

Settings on the Active Actions Tab
On the Active Actions tab, configure actions to process the search query results.
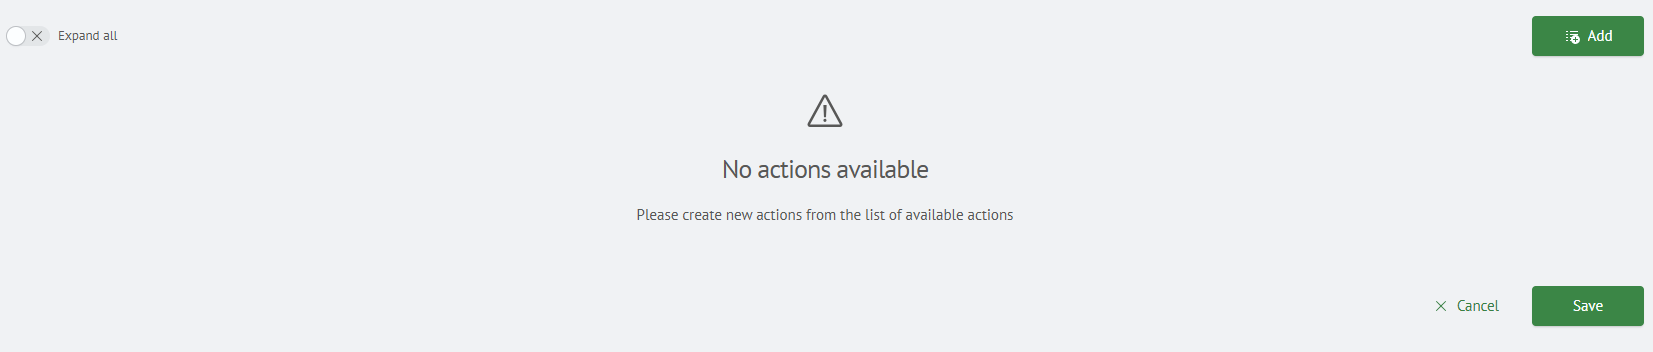
Active actions run only if the search query finds events.
To add an active action, click Add and select the action you need.
Besides the built-in Job Scheduler actions, the list includes script-based active actions that have the Job Scheduler scope selected. For details on configuring such actions in a job, see Job Scheduler in the active actions section.
After adding an active action, you need to fill in the fields by expanding the block with the new action. As an example, the Email Sending action—sending a notification via email—is considered below.

You can use values from the search results in the action fields.
Add the Create Incident action to create an incident in Incident Manager.

This action has its own set of fields; you can also substitute values from the search results into them.
The list now contains two actions. They run in sequence; drag the blocks to change their order.

After you save the job, it starts running on the specified schedule.
Scheduler Settings
To open the scheduler settings, go to Main Menu - Settings - Module Settings - MAIN - Scheduler Settings.

Configure the required settings and save the changes.
Cluster Settings
The sm.core.job_scheduler.statistic.indices.rotation setting is available starting with version 6.1.0.
| Setting | Default value | Description |
|---|---|---|
sm.core.job_scheduler.statistic.indices.rotation | daily | Rotation frequency for job run statistics indices. |
Available values:
daily— dailyweekly— once a week