Scenarios
General Information
The Scenarios section in Knowledge Center (hereinafter referred to as KWC) is designed for creating, storing, and managing descriptions of automation scenarios, incident handling, and event response in the system.
The Scenarios section solves the following tasks:
-
Centralized scenario storage. All scenarios are collected in one place and available through the web interface. This eliminates the need to search for information in fragmented documents
-
Standardization of descriptions. Each scenario has a structured description including 4 parameters:
- scenario name (required parameter)
- scenario description
- attached objects
- attached tags
-
Documentation during the work process. Maintaining records of scenarios in the KWC interface allows keeping documentation up-to-date without the need to maintain separate files or wiki pages
Creation
When navigating to the module Navigation Menu - Knowledge Center - Scenarios, a list of scenarios available in the system is displayed. To create a new scenario, click the Add Scenario button.
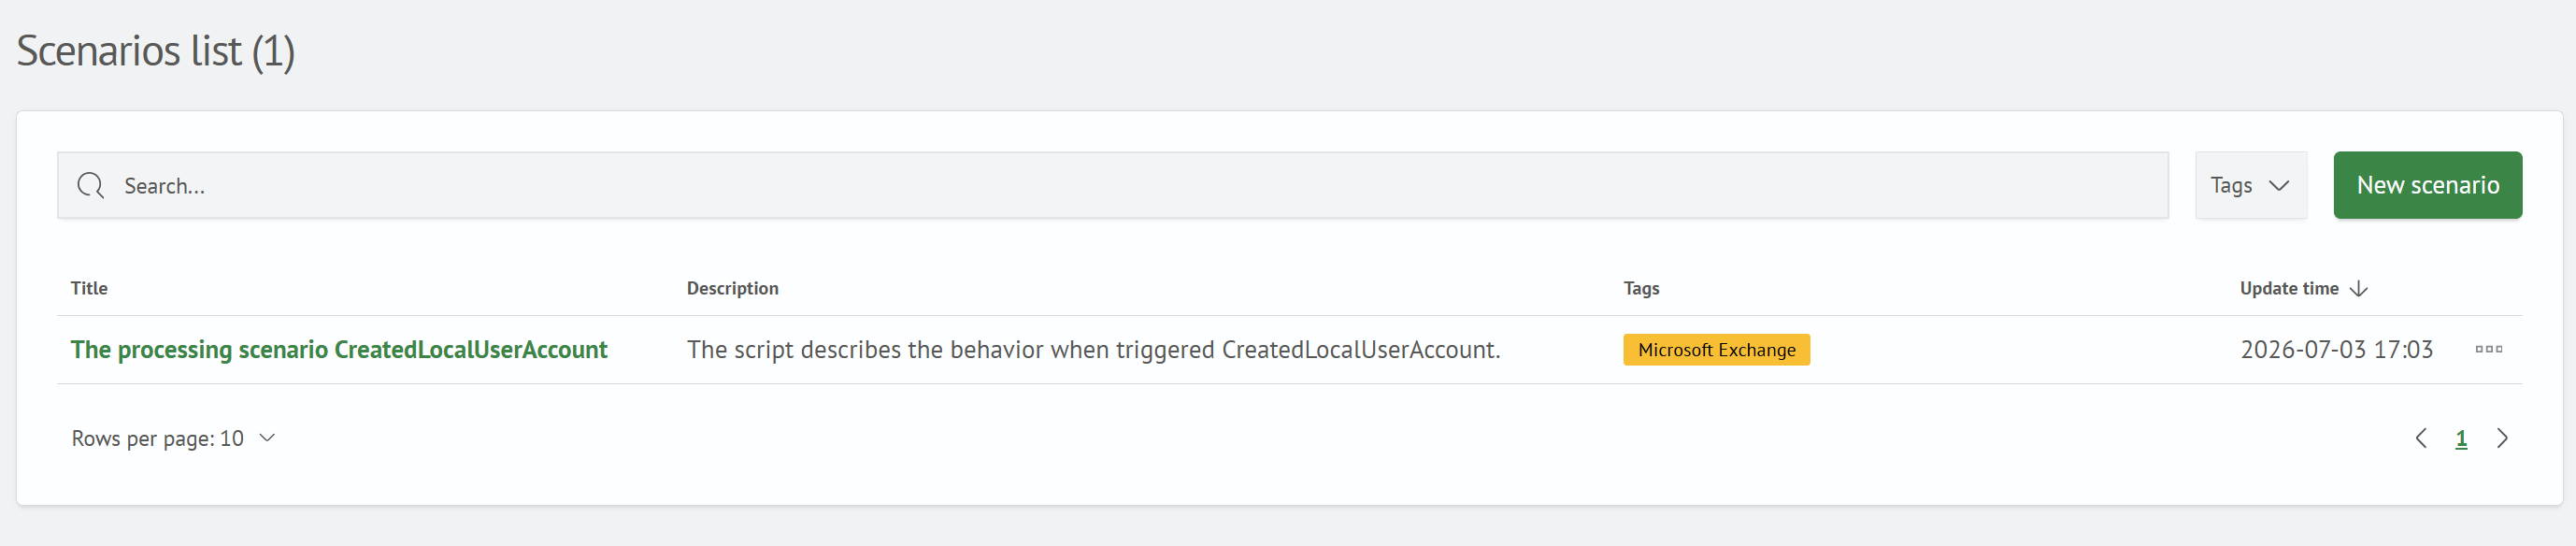
Here you can also filter scenarios by tags or find the required source using the search.
Parameter Setup
Scenario Name
You need to specify the scenario name.

Scenario Description
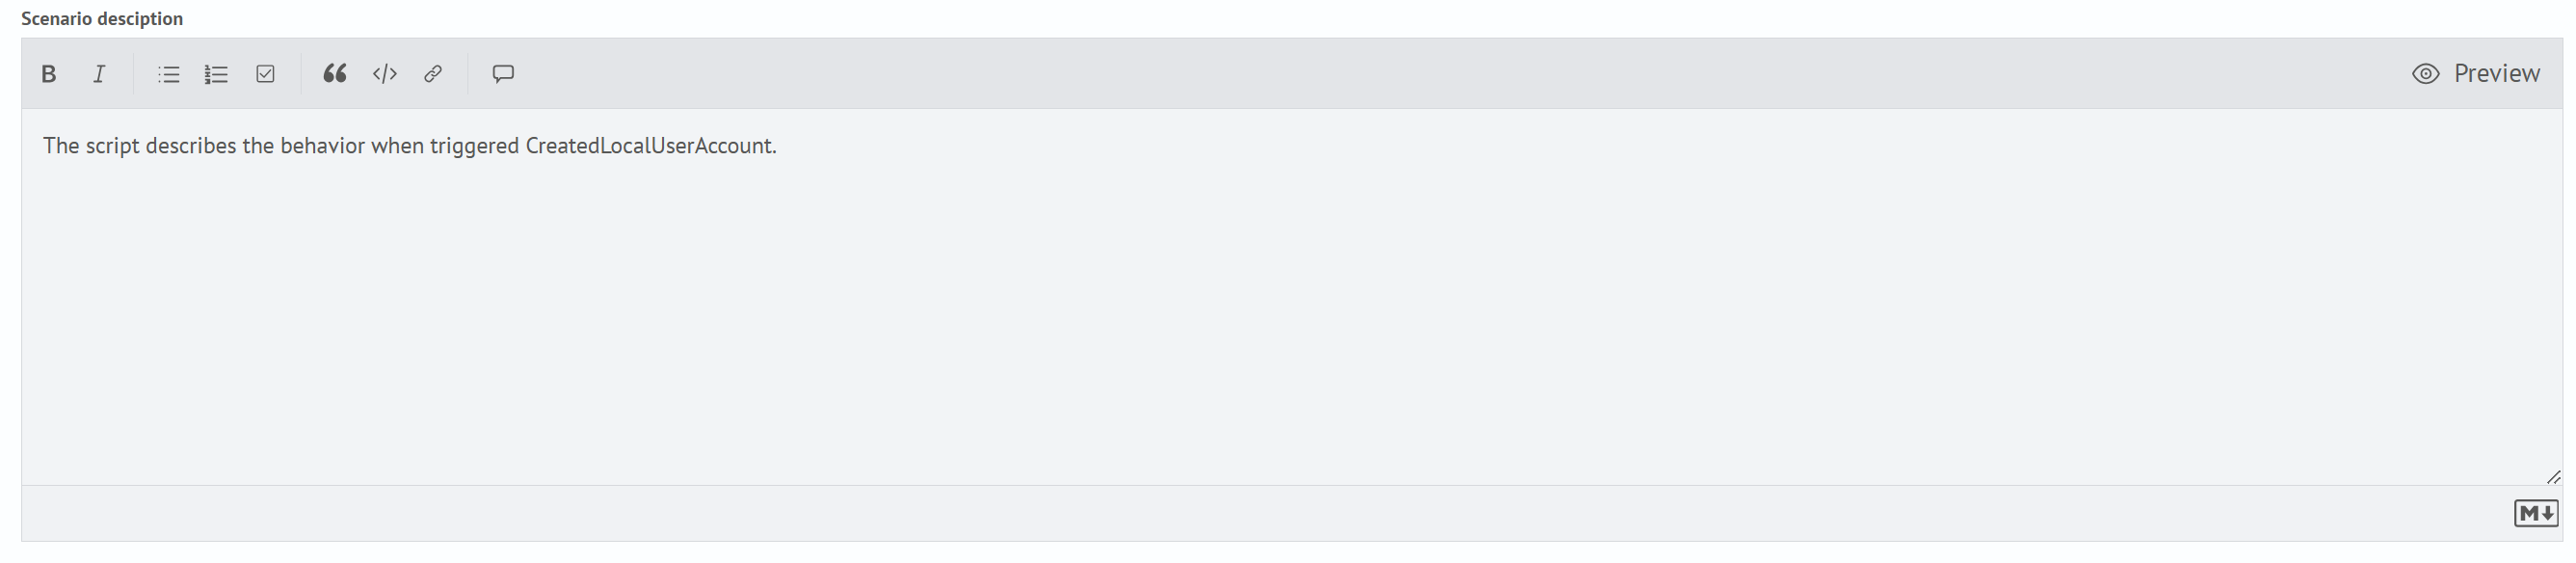
If necessary, you can add a scenario description. The description is set in md format.
Attached Objects
You can additionally select rule(s) from the list.

Attached Tags
You can additionally select tag(s) from the list.

Result of Parameter Setup
After saving the settings, a new scenario will be added to KWC. An example of the result is shown in the screenshot below:

In addition to viewing the scenario, you can also view the rule that was selected during setup. To do this, you need to expand the rule panel by clicking on its name, then select View Object - the rule view window will open.
Additional Settings
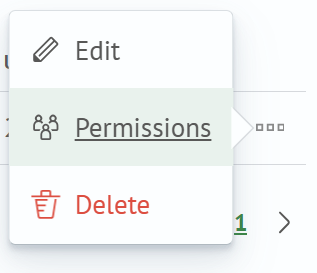
For scenarios, you can configure access rights similar to other Smart Monitor objects through the context menu located to the right of the object and accessible by clicking the three dots symbol. You can also configure access rights by opening the required scenario, after which click Permissions in the upper right corner of the window.
Editing
To edit an existing scenario, you can select the Edit item through the context menu on the right or open the required scenario, after which click Edit in the upper right corner of the window.

Deletion
To delete an existing scenario, you can select the Delete item through the context menu on the right.