SMTP Configurations
An SMTP configuration defines the connection to an SMTP server and the sender address. The Job Scheduler uses it to send messages through the Sending E-mail active action.
SMTP Configuration List
To open the list of SMTP configurations, go to Main Menu - Settings - Module Settings - Job Scheduler - SMTP Configurations.
The page lists the available SMTP configurations. To find a configuration by name, use the Search field.
The system SMTP configuration is used by Sending E-mail when no configuration is explicitly selected. It is created automatically with the SMTP configuration index during the initial installation of Smart Monitor. When upgrading to version 6.2.0, a migration creates it. In the list, it is named System SMTP Configuration.
Adding an SMTP Configuration
To add an SMTP configuration, click the plus button. A form opens.
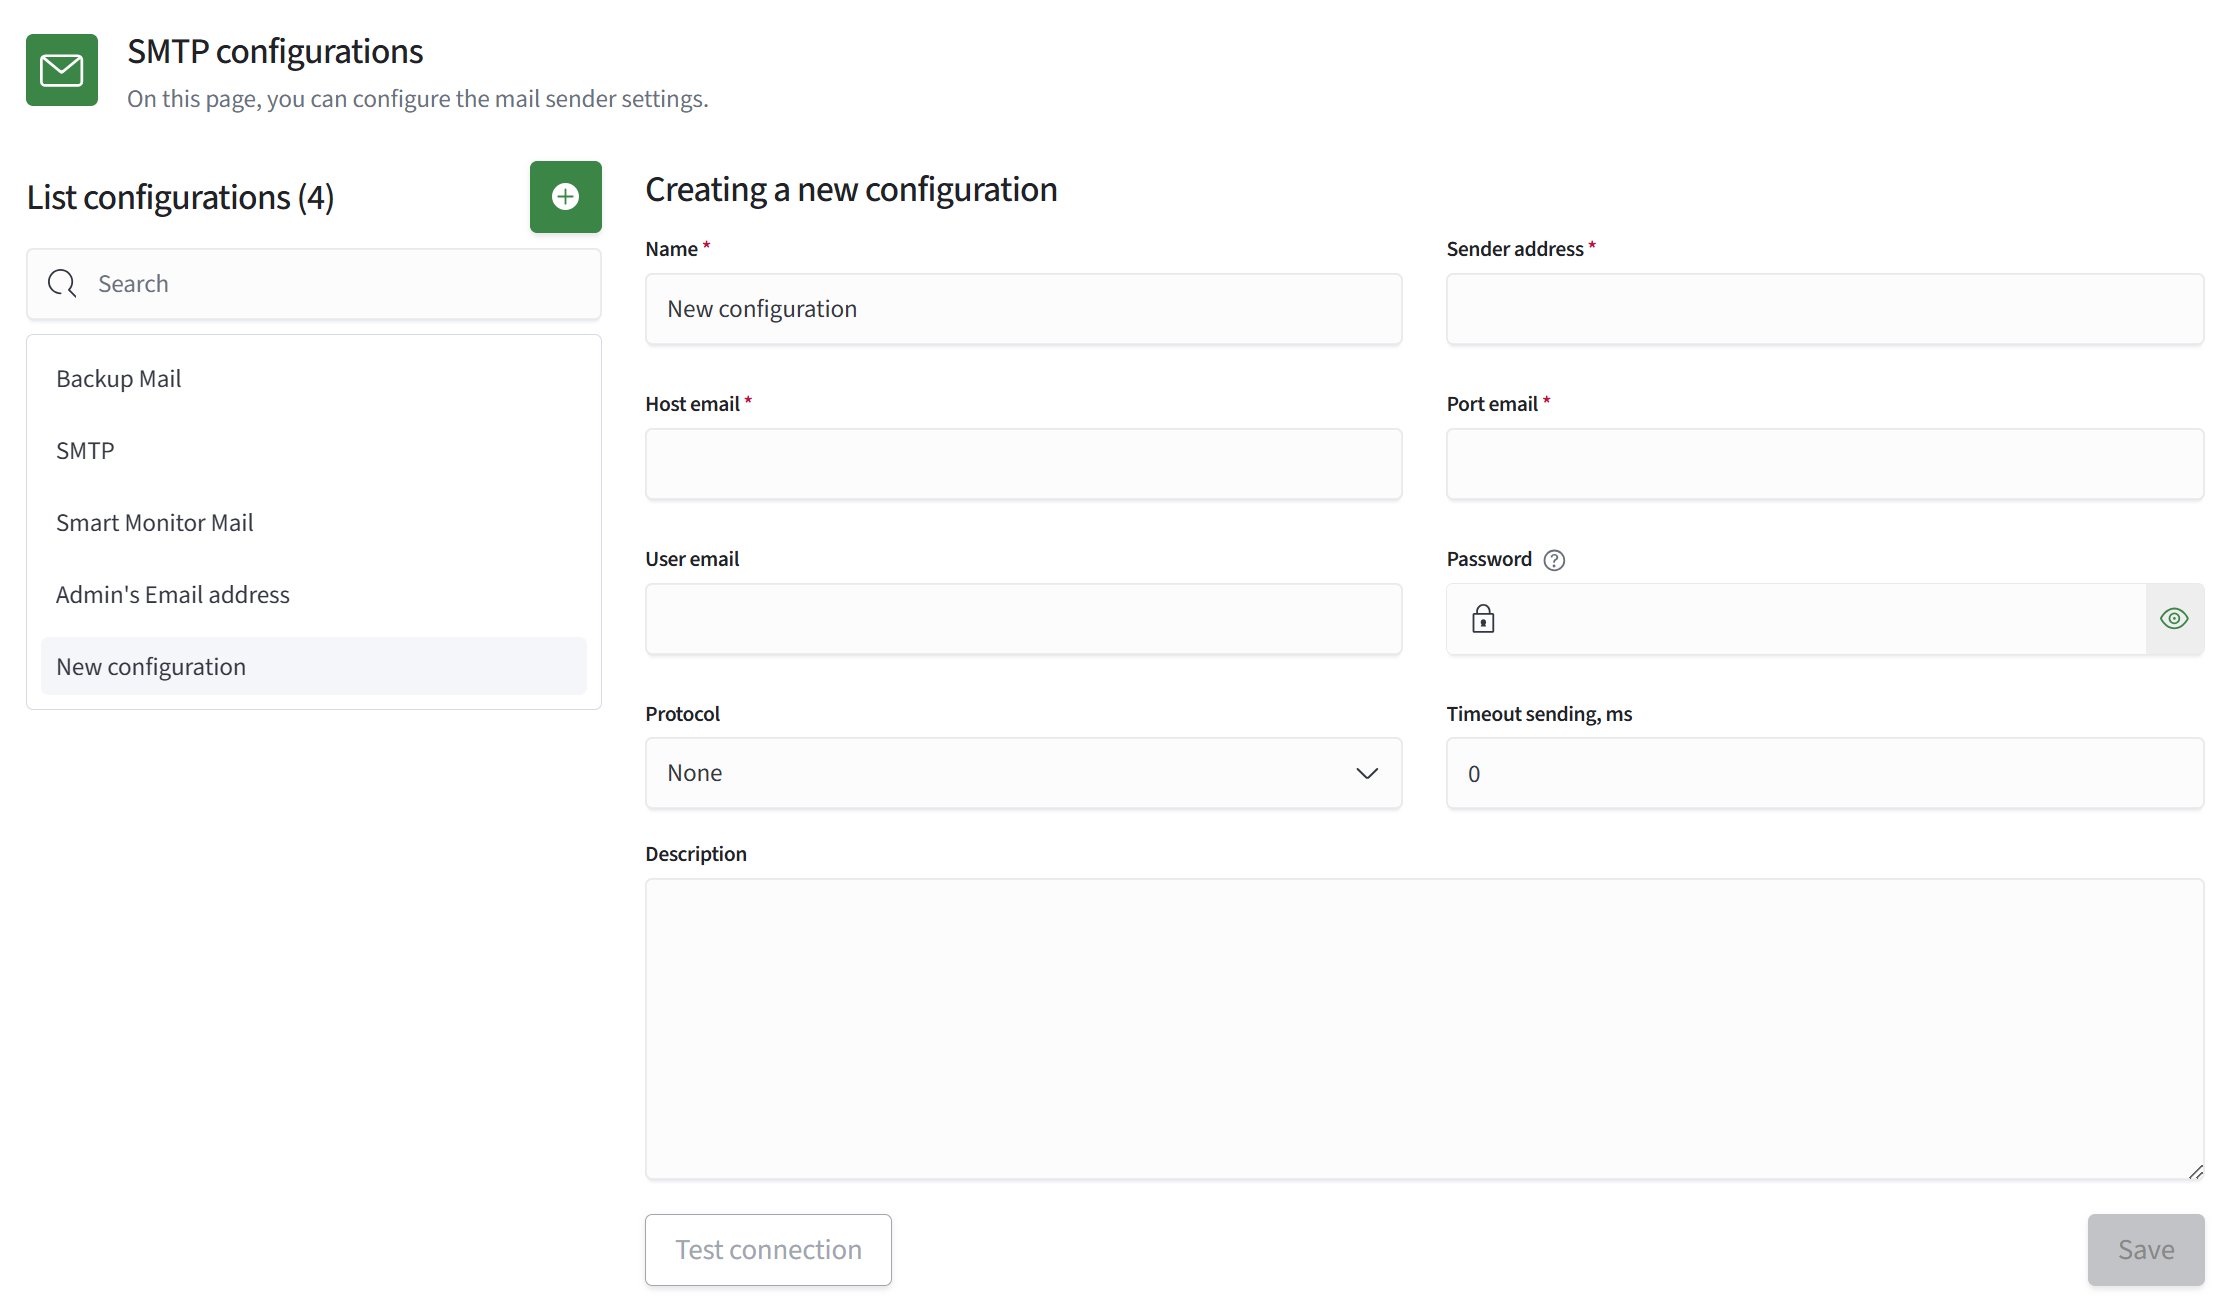
Fill in the fields:
Name- the name of the SMTP configuration in lists; the default isNew ConfigurationSender Address- the email address from which messages are sentEmail Host- the SMTP server hostEmail Port- the SMTP server portEmail User- the user name used to authenticate with the SMTP serverPassword- the user's password, stored in KeystoreProtocol- the protocol used to secure the SMTP connection:Not Set,SSL, orTLSSend Timeout, ms- the time to wait for a connection and each SMTP server response, in milliseconds;0disables the timeout, and negative values are rejected on saveDescription- an optional description of the SMTP configuration's purpose
After filling in the fields, click Save.
Editing an SMTP Configuration
To open the editing form, select an SMTP configuration from the list.
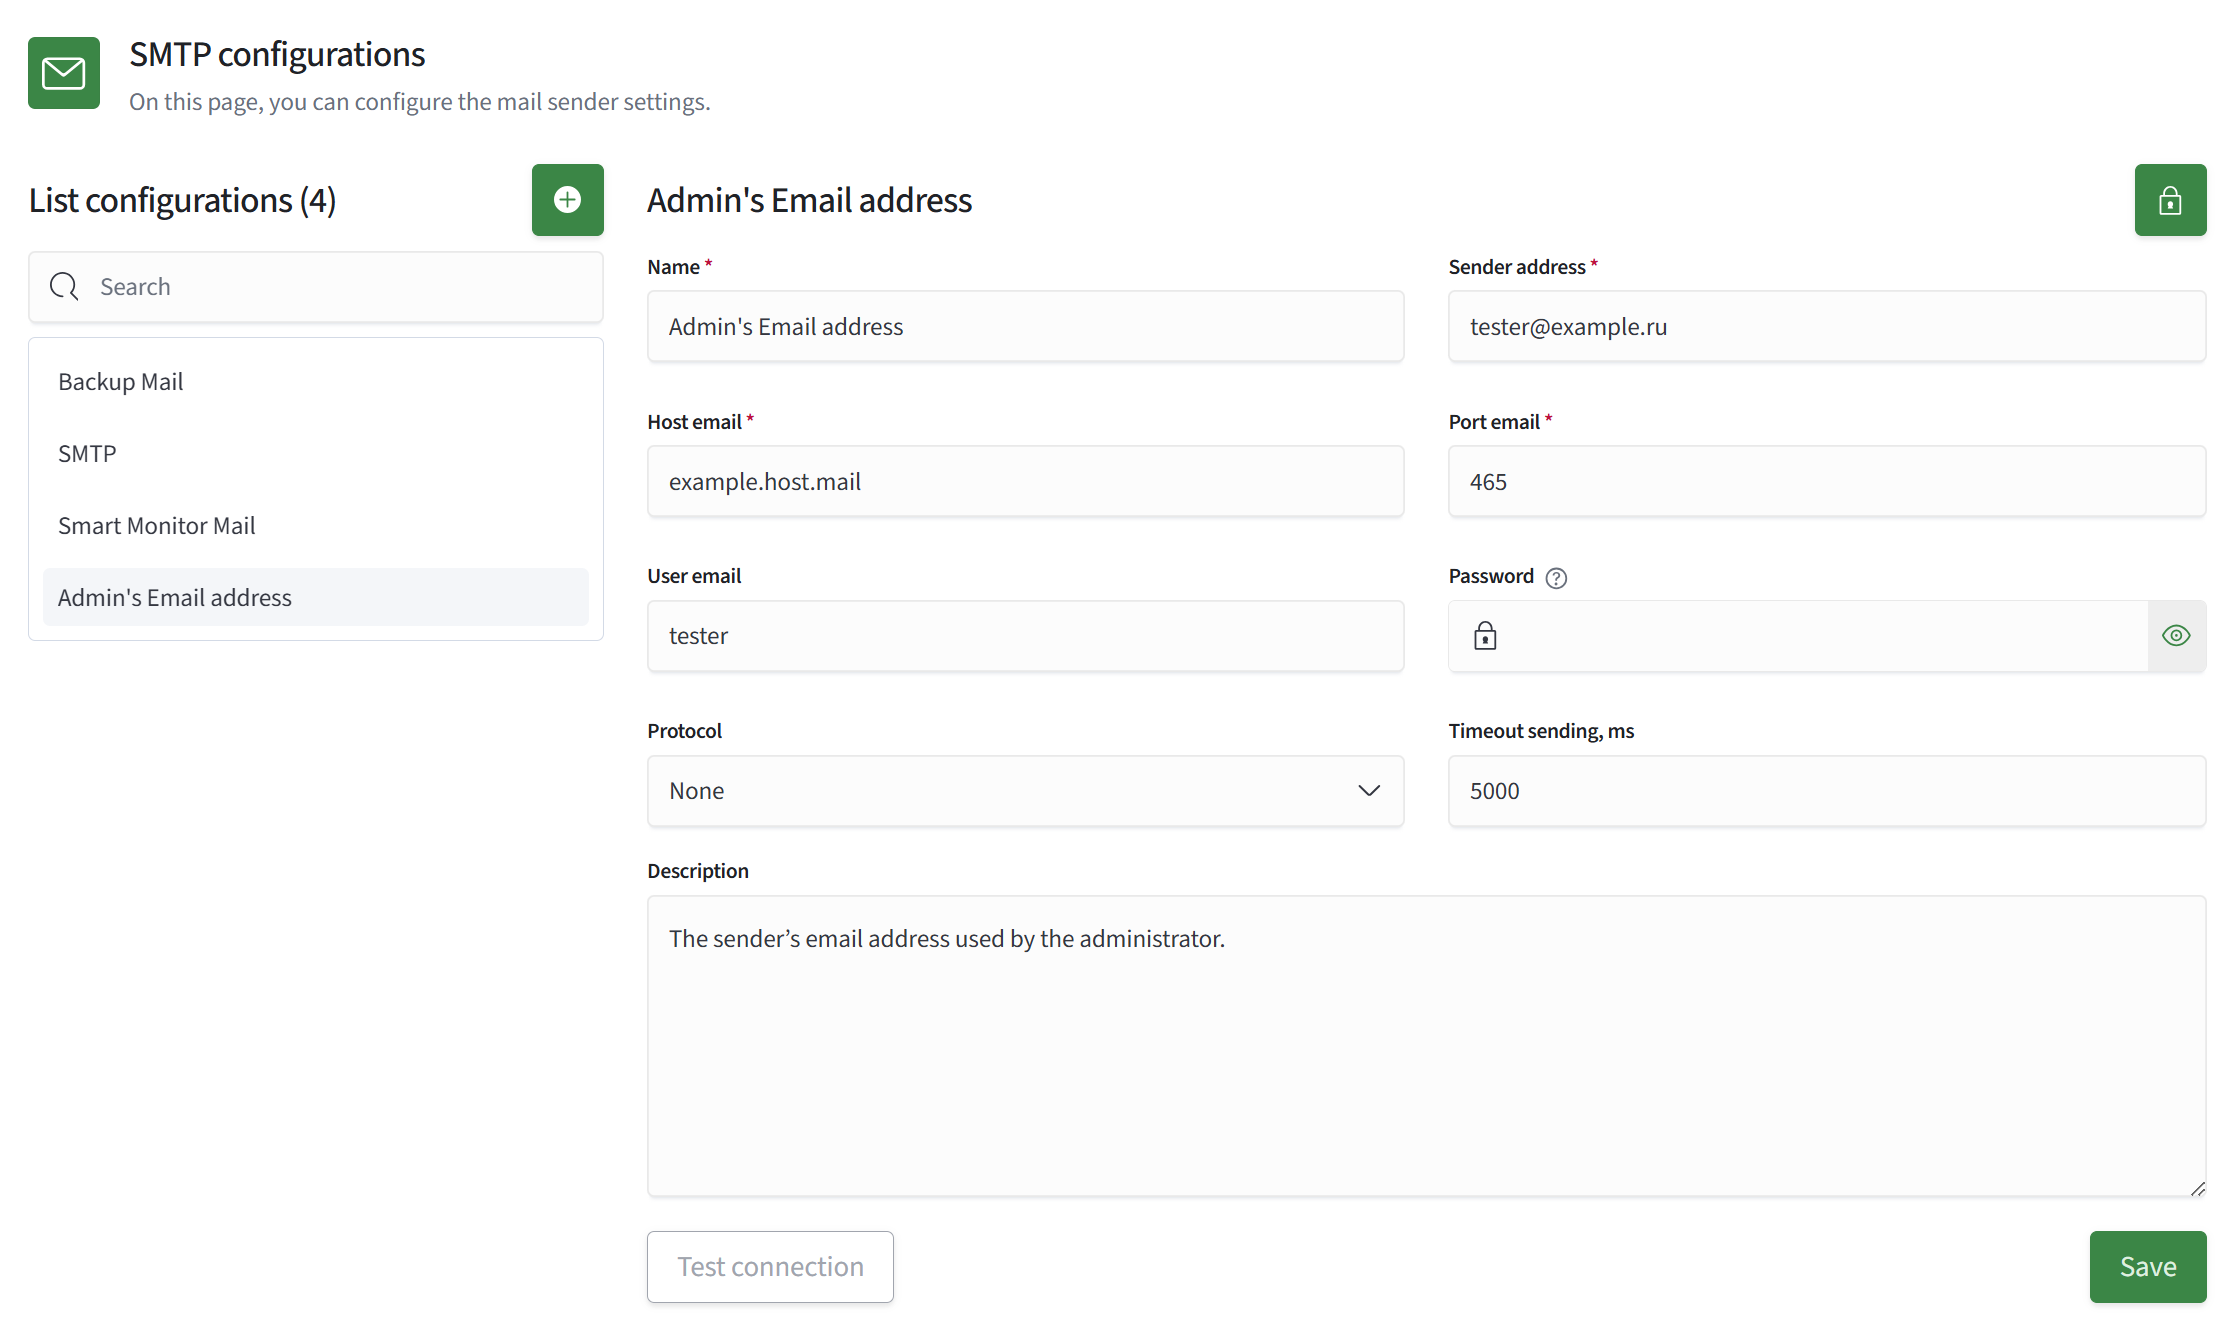
Use the lock button in the form header to configure role access to the SMTP configuration.
After changing the settings, click Save.
Testing the Connection
The connection is tested using the saved SMTP configuration. Therefore, the Test Connection button is unavailable until a new configuration is saved or while an existing configuration has unsaved changes. Save the configuration and click the button.

When the test finishes, a message displays the result.
Deleting an SMTP Configuration
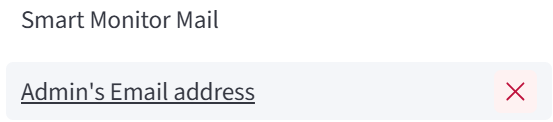
To delete an SMTP configuration, click the cross button in the selected configuration's side menu.
Using SMTP Configurations
In the Sending E-mail active action, select an SMTP configuration in the From field.

If no configuration is explicitly selected, the system SMTP configuration is used. For more information about configuring the action, see Sending Email.
Adding a Password to Keystore from the Console
The following variables are used in the commands below:
$OS_HOME- the OpenSearch installation home directory, usually/app/opensearch$OS_CONFIG- the OpenSearch configuration directory, usually${OS_HOME}/config
For the system SMTP configuration with an empty password_id field, use the jobscheduler.email.pass key. If password_id is set, its value is used as the suffix of the jobscheduler.email.password.{password_id} key.
Add the password to Keystore on every server where the Job Scheduler plugin (sm-job-scheduler) is installed.
You can add the password through the REST API or the console.
Run the Keystore utility as the opensearch user. To add a password, run the command for the key used by the SMTP configuration:
sudo -u opensearch ${OS_HOME}/bin/opensearch-keystore add jobscheduler.email.pass
sudo -u opensearch ${OS_HOME}/bin/opensearch-keystore add jobscheduler.email.password.{password_id}
To remove a password from Keystore, run the command for the same key:
sudo -u opensearch ${OS_HOME}/bin/opensearch-keystore remove jobscheduler.email.pass
sudo -u opensearch ${OS_HOME}/bin/opensearch-keystore remove jobscheduler.email.password.{password_id}
If you run the command without the -u opensearch option, check the permissions of ${OS_CONFIG}/opensearch.keystore after modifying Keystore. You can change the permissions with this command:
sudo chown opensearch:opensearch ${OS_CONFIG}/opensearch.keystore
After modifying Keystore from the terminal, restart OpenSearch. For a cluster with multiple nodes, disable allocation through the Dev Tools console (Main Menu - Settings - Dev Tools) before restarting:
PUT _cluster/settings
{
  "persistent": {
    "cluster.routing.allocation.enable": "none"
  }
}
You can also do this from the terminal:
curl -XPUT -k -u admin "https://127.0.0.1:9200/_cluster/settings?pretty" -H "Content-Type: application/json" -d '{"persistent":{"cluster.routing.allocation.enable": "none"}}'
Then restart the OpenSearch node:
systemctl restart opensearch.service
After the service starts, wait for the node to appear in the cluster's node list:
GET _cluster/health
GET _cat/nodes
You can also check this from the terminal:
curl -k -u admin "https://127.0.0.1:9200/_cluster/health?pretty"
curl -k -u admin "https://127.0.0.1:9200/_cat/nodes"
After the node appears in the cluster, enable allocation:
PUT _cluster/settings
{
  "persistent": {
    "cluster.routing.allocation.enable": "all"
  }
}
You can also do this from the terminal:
curl -XPUT -k -u admin "https://127.0.0.1:9200/_cluster/settings?pretty" -H "Content-Type: application/json" -d '{"persistent":{"cluster.routing.allocation.enable": "all"}}'