Creating an "Incident Action"
After configuring the search job, the user can set up Incident Creation. This article reviews an example of creating an incident using the Job Scheduler component. Information on the parameters to be filled is provided in the article.
Enter the name and description of new job.
- Name -
RULE - CS - Sysmon - SystemTimeDiscovery - Description - An adversary may gather the system time and/or time zone from a local or remote system
Next, the incident information is filled in, specifying the search query and time settings:
source sysmon_operational-*
| search event.code="1" AND rule_name_technique_id="T1124"
| rename rule_name_technique_id as mitre_technique_id
| table @timestamp, mitre_technique_id, event.action, host.name, host.ip, user, original_file_name, image, parent_image, command_line, parent_command_line, process_id, parent_process_id, process_guid, parent_process_guid
- Time interval - Last 30 minut
- Time interval -
@timestamp - Duration of the lock (in seconds) - 60
Frequency of execution:
- Schedule type - Cron Expression
- Cron - 3-59/5 * * * *
- Schedule delay - 0
- Duration - 60 minut
- Fields for suppression -
user - Global parameters:
- Key -
guid - Value -
guid()
- Key -
To log incidents using a search job, you need to add the Create Incident action in the Active Actions tab. Details on how to configure it are provided on the following page Incident Action.

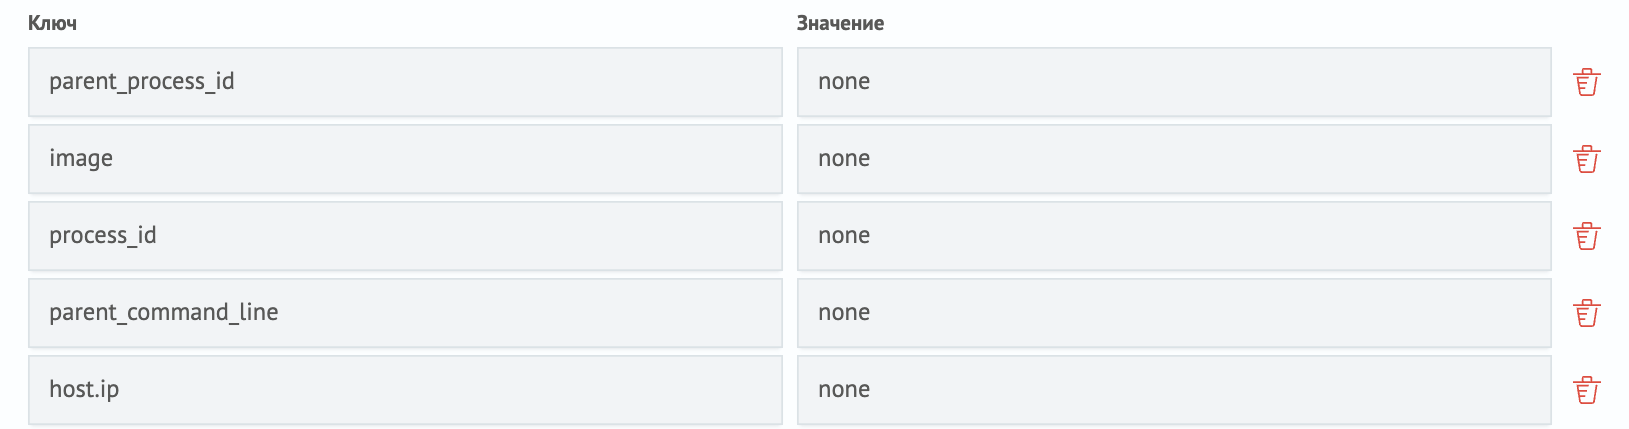
In the Fields from search results section, you need to fill in the fields from the search query and pass none as the value. In this case, when viewing an incident, the fields will retain their names according to the names in the key field.
Save the search job and wait for its execution time. To view the incident, open the Incident Manager module in the navigation menu.
The screenshot shows that Smart Monitor recorded the incident. The incident description contains information about the detected event.
